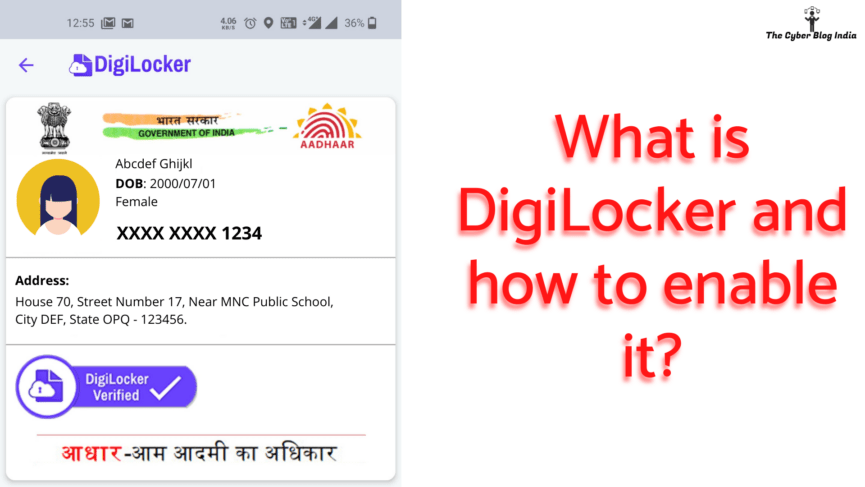
What is DigiLocker and how to enable it?

DigiLocker, as the name suggests, is a digital locker for all your e-documents that are issued by the Indian Government. After you enable it, you won’t have to carry all the paperwork everywhere you go. You’ll just need an internet connection and your registered user ID, and Voila! All your identity proofs, address proofs, and what-not’s are at one place, which only you can access. To share these documents, you’ll just have to click on the ‘share’ link provided against the document. For enabling it, you require your unique Aadhaar ID and a registered e-mail ID.
Key Features Of DigiLocker
- Digital Locker of each resident is linked to their Aadhaar number.
- Initially, the app allocated 100 MB of free space for each user to securely store resident documents and URLs. As of today, the application now provides 1 GB space per user.
- It allows sharing of e-documents online with any registered requester agency or department.
- Download eAadhaar.
- List of issuers which have issued e-documents to residents and list of requesters which have accessed resident’s documents.

DigiLocker benefits

DigiLocker benefits
Creating a DigiLocker account on your mobile phone
Step 1
Open Play Store/App Store on your mobile phone and search for “DigiLocker.” Install the application and open it. In the bottom-right corner of your screen, you will see an option called “Account.” Tap on this and you should now see a “Create account” option. If you already have a DigiLocker account, check this article and log into your account.
Step 2
After tapping on the “Create account” option, enter your 12-digit Aadhaar number and click on the Next button. Now, you will receive a one-time password (OTP) on your registered mobile number for verification. Enter this OTP and click on the Submit button.

Creating an account on DigiLocker
Step 3
Before allowing you to download your documents, the application asks you to set a 6-digit PIN. Enter the desired PIN and click on the Done button. Here, you can check all the issuers, documents they issue, and documents issued to you.

Setting up DigiLocker PIN
This article was first published on February 23, 2015 by Nitish Chandan. Sonal Surbhi updated this article on October 04, 2020.
Interested in contributing to our blog and knowledge base? Write to us at contact@cyberblogindia.in and elaborate on how you can help us in creating a safer cyber space.
