How To Remove Duplicate Files On A Computer

Ever worried about removing those annoying duplicate files created while copying or moving something? If yes, then you’re at the right place. It is very difficult to manually find these files, and then delete them, so here’s a simple tutorial of how to remove these irritating files using Duplicate File Finder. There are umpteen number of such applications out there on the internet, but this one is very easy to use, and is very light. Download it from here.
After you’ve downloaded and installed it, here are the steps you must follow:
- Add directory using the “browse” button alongside the “directory” text box. This directory is the address from where you want your files to be deleted. After selecting this, press “OK.
- Now after you’ve chosen a directory, add them by clicking on “Add” submit button. After completing this step, you’ll find the list of directories from where you want duplicate files to be deleted, as shown in the screenshot below:
- Then click on “Go!” This will start the searching process. This might take some time. As soon as it finds some duplicate file, it’ll show as a message in the log.
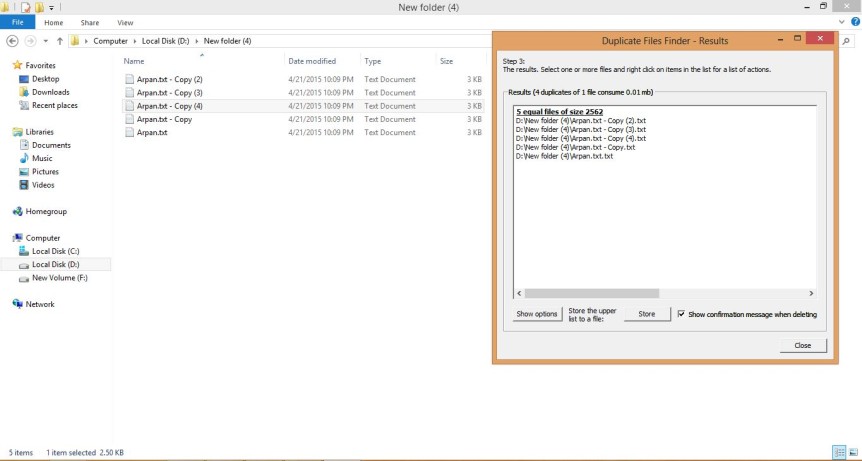
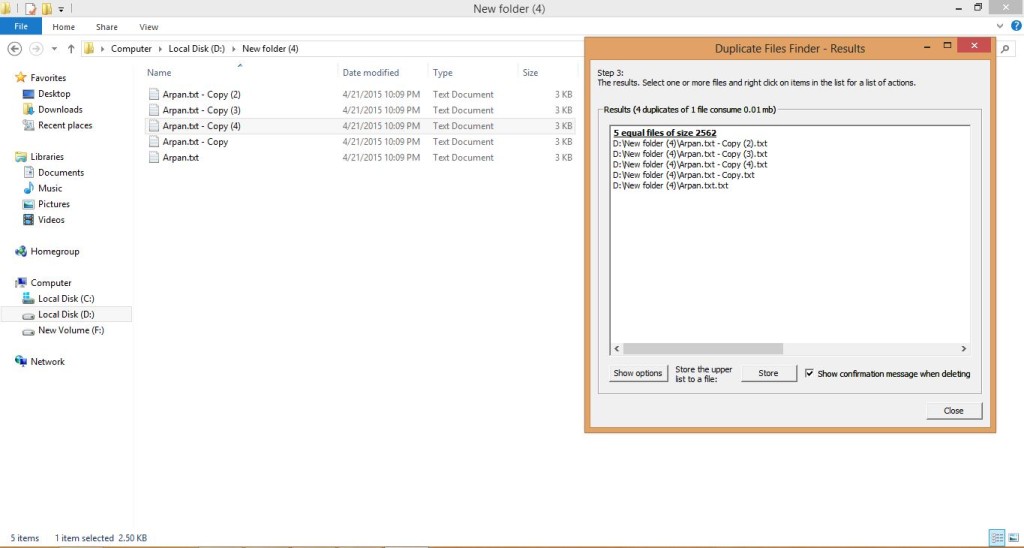
- After completing the above step, which might take a while depending on the size of the directory chosen, the result will look like the one below. I’ve taken the screenshot alongside the directory where my files are.
Now that you know the address of the files, go to that location and delete them manually. Have fun using Duplicate Files Finder!


